Christmas is right around the corner! I can’t believe it!
Nothing fits a December birthday better than a Winter Wonderland Birthday party!
Nothing fits a December birthday better than a Winter Wonderland Birthday party!
This party was inspired by Fresh Chick’s Winter Candyland birthday party theme.
My friend organized this birthday party for her 3 year old daughter and it turned out super cute.
My friend organized this birthday party for her 3 year old daughter and it turned out super cute.
{Complete picture added to the end}
She went with a variety of winter cookies and a cake!
She went with a variety of winter cookies and a cake!
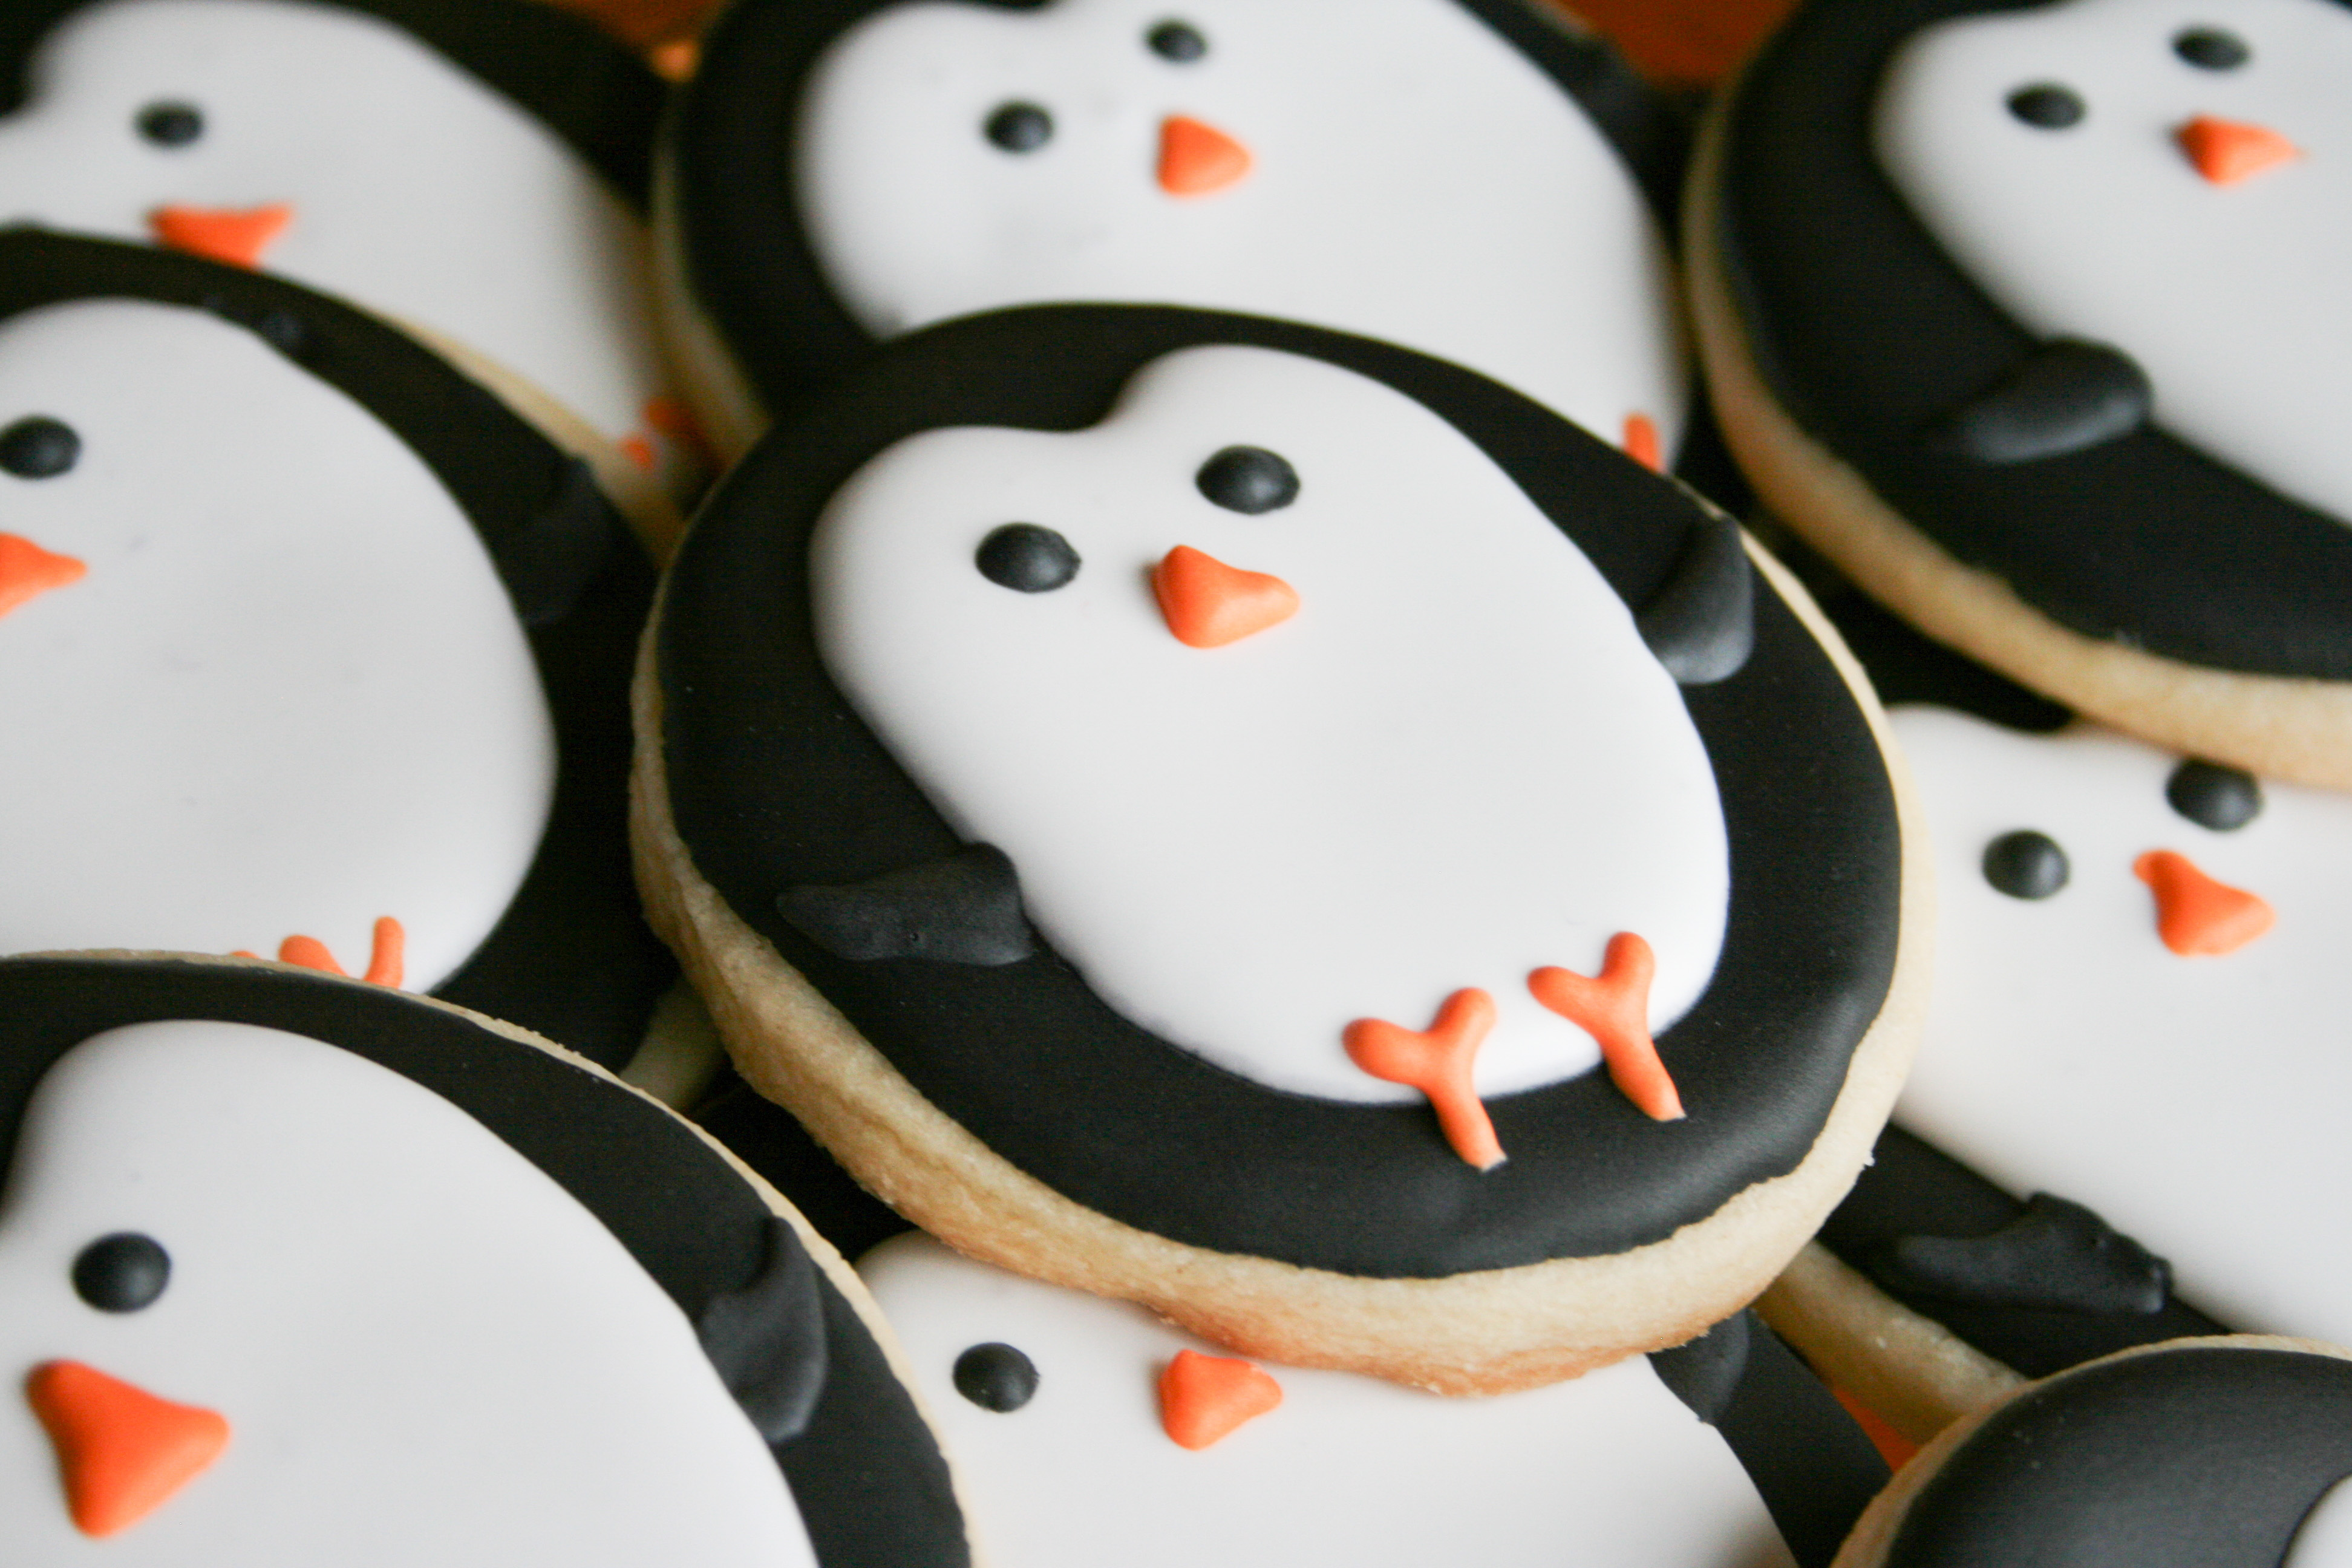
I love these little penguin cookies! In all honestly, these were super easy cookies to make.
The key is to make sure to add enough black food coloring to get a good true black color.
Hint: Your icing will get darker as it sits so your icing may look like a dark grey to begin with (like mine did) and will ‘mature’ into a black color like these penguins. You can let it sit for a short time and see if it darkens or you can just get it a dark grey and go to town. You don’t need to add enough color to get it black right away.
For these cookies, use my rolled cookie dough recipe and roll out to 1/3-1/2 inch thick. Use an oval cookie cutter of your size choice to make the cookie base. Let them cool completely before decorating.
Make this royal icing recipe and thin it out to a medium consistency to be able to both pipe borders and flood. Separate the icing out into separate bowls to tint to the correct colors (black and orange). Use a water-based food coloring. I prefer gel colors because it doesn’t thin your icings out. You don’t need much orange at all. Put your icing in squeeze bottles for easy application. I put my orange in a little ziplock baggie and snipped the tip off.
Pipe a border around the edge of the cookie creating an oval then flood the cookie with the black icing. Give it a shake to even out the icing. Move on to the next cookie. I leave my cookies out on a cookie sheet. The icing will keep the cookies moist so don’t worry about refrigerating or covering while decorating your cookies. Let the icing dry enough so that it looks more dull than shiny (It might be ready by the time you finish the rest of your cookies). A little shine is ok as long as it looks firm enough to pipe more icing on and not sink in or bleed. Once dry enough, pipe a border of the white icing to duplicate the white pattern that you see below and then flood it. Allow this icing to dry in the same manner. Make sure you are capping or covering your squeeze bottles in between use so the icing doesn’t dry out.
Next, give him some eyes with just a small dab of icing and give hime some wings. I just press and released as I pulled away. I then used a little toothpick to make it look like I wanted. Now give Mr Penguin some feet and a nose. The tip opening should be very small so you can control the icing. Just do a little triangle for the nose and the design you see below for the feet. I used a little toothpick on the nose if it didn’t turn out how I wanted it. Voila! Penguin. Fer cute!
Who doesn’t love penguins, honestly?
Next up are Cookie Lollipops!
What?! But lollipops have sticks?! …and so can cookies. Very easily might I add.
I wish I had taken a picture of the cookie making process for these lollipops but I didn’t so this explanation will have to do for now.
The Stuff List: Same cookie dough recipe and 6 inch lollipop sticks….That’s it.
Roll these out the same way and cut into circles (whatever size you want them to be). Mine are 3″ cookies. Now take your stick and press it lightly onto the top of the cookie extending at least to the center of the circle. You don’t want your cookie to fall apart because the stick wasn’t in enough. Now get a bit of dough and roll it into a ball. Flatten it with your fingers and place over the stick. The dough should cover the stick and quite a bit around it so it will be secure and snug. Very lightly press the cookie dough disc flattening it to the cookie. Press the edges so they kind of blend with the cookie. ( …I should do a video. I will someday I promise!)
Using a thin metal spatula, carefully flip the cookie over, place on an ungreased cookie sheet and cook as directed by the recipe. Not too bad. The cookies are suprisingly sturdy. I thought they might be crumbly or fragile but they are quite solid. Let cool completely on the cookie sheet before removing.
To get this cool design above, flood your cookie as described above with red icing. Immediately after, draw four lines, with blue icing, across the cookie crossing in the middle. Using a toothpick, start in the middle of the cookie and swirl around circling the cookie about 5 times. Shake gently…..notice the blue and red cookie in the background above…..I shook a little too vigorously and my border got overrun. Let dry.
There is no wrong way to decorate sugar cookies so experiment and have fun!
Personally, I don’t think winter is complete without snow or snowballs!
These cookies are super simple to make. {The simplest of the bunch}
Simply cut out small circle cookies (mine had a little ruffle around the edge), flood with white icing and sprinkle with white non-pereils. I flooded all the cookies and then went back to sprinkle so the non-pereils wouldn’t sink into the wet icing too much. It probably doesn’t matter. Just make sure it doesn’t dry before sprinkling.
To make these cute mittens (below), I flooded the top of the mitten with a color (and design if applicable) and let it dry while I did all the cookies. I then went back and flooded the bottoms with white icing and sprinkled with white non-pereils. Make sure the other part of the cookie is pretty dry so the non-pereils don’t stick to something you don’t want them to stick to.
When the red icing was dry, I piped on the white snowflake and placed pearls at the ends of the snowflake and in the middle. Not too bad.
To get the design below, flood the cookie with blue icing and then draw four green lines across the cookie. Using a toothpick, drag through the icing straight up and then down, then, up and down again. Give the cookie a shake to level it out.
The wrapped candy cookies were quite an adventure for me. I could not find a cookie cutter anywhere and of course I waited too long to be able to order one on line. 🙂 So……
…I made my own cookie cutter. It was totally fun and gave me a sense of empowerment. 🙂
It actually wasn’t as difficult as I thought.
I bought a “make-your-own-cookie-cutter” kit from Orson Gygis and decided to give it a go.
The kit came with the wood board with peg, a ribbon of metal and some tools (for round edges and sharp edges) needed to form the cookie cutter and an adhesive to secure the ends together. Not bad for $15. It will make about 3 cookie cutters and then you can buy refill metal ribbons for about $5. So now I can make whatever shapes I want! For cheap! No restrictions!
The result?….
Sweet! (Literally…)
This would make another good video….dang it. I need to get on that.
So…… Homemade Cookie Cutter + Cookie Dough =
I think they turned out rather swell, don’t you?
For decorating, I started with the center and flooded with the solid color (always remember to create a border first!). My icing was starting to thicken and dry a little at this point (especially the green and red) so you can kind of see the lines where I dragged the toothpick. To prevent this, just add a very tiny bit of water to thin it out slightly before piping/flooding.
To get the polka dots below, simply place a small drop of white icing onto the still wet flooded icing. It will sink in and look like this.
For the wrapper ends, draw a border, flood with icing and let dry. Then go back over the border and add some pleats to the wrapper with 3 straight lines. Cute!
Some extra snowman (or snowlady) cookies for the kids to decorate.
…And the cake.
This is an 8 inch cake and has 3 layers with a sweet cream cheese in between and vanilla buttercream on the outside.
I am going to give this cake its own post so stay tuned.
So, you put it all together and whaddya got?
{Pictures curtesy of the host}
Great Job! I love it!
So adorable! The cookies look so yummy, with all the variety of textures and colors. The mittens are my favorite! It's super cool about the one of a kind cookie cutters. I'm so glad you are running with this talent. I am always looking forward to what you'll do next.
Thanks so much! It is a lot of fun. 🙂 I love it. I am glad you like to see my stuff!